Pages

Showing posts with label recycle. Show all posts

Friday, August 9, 2013

DIY Envelopes

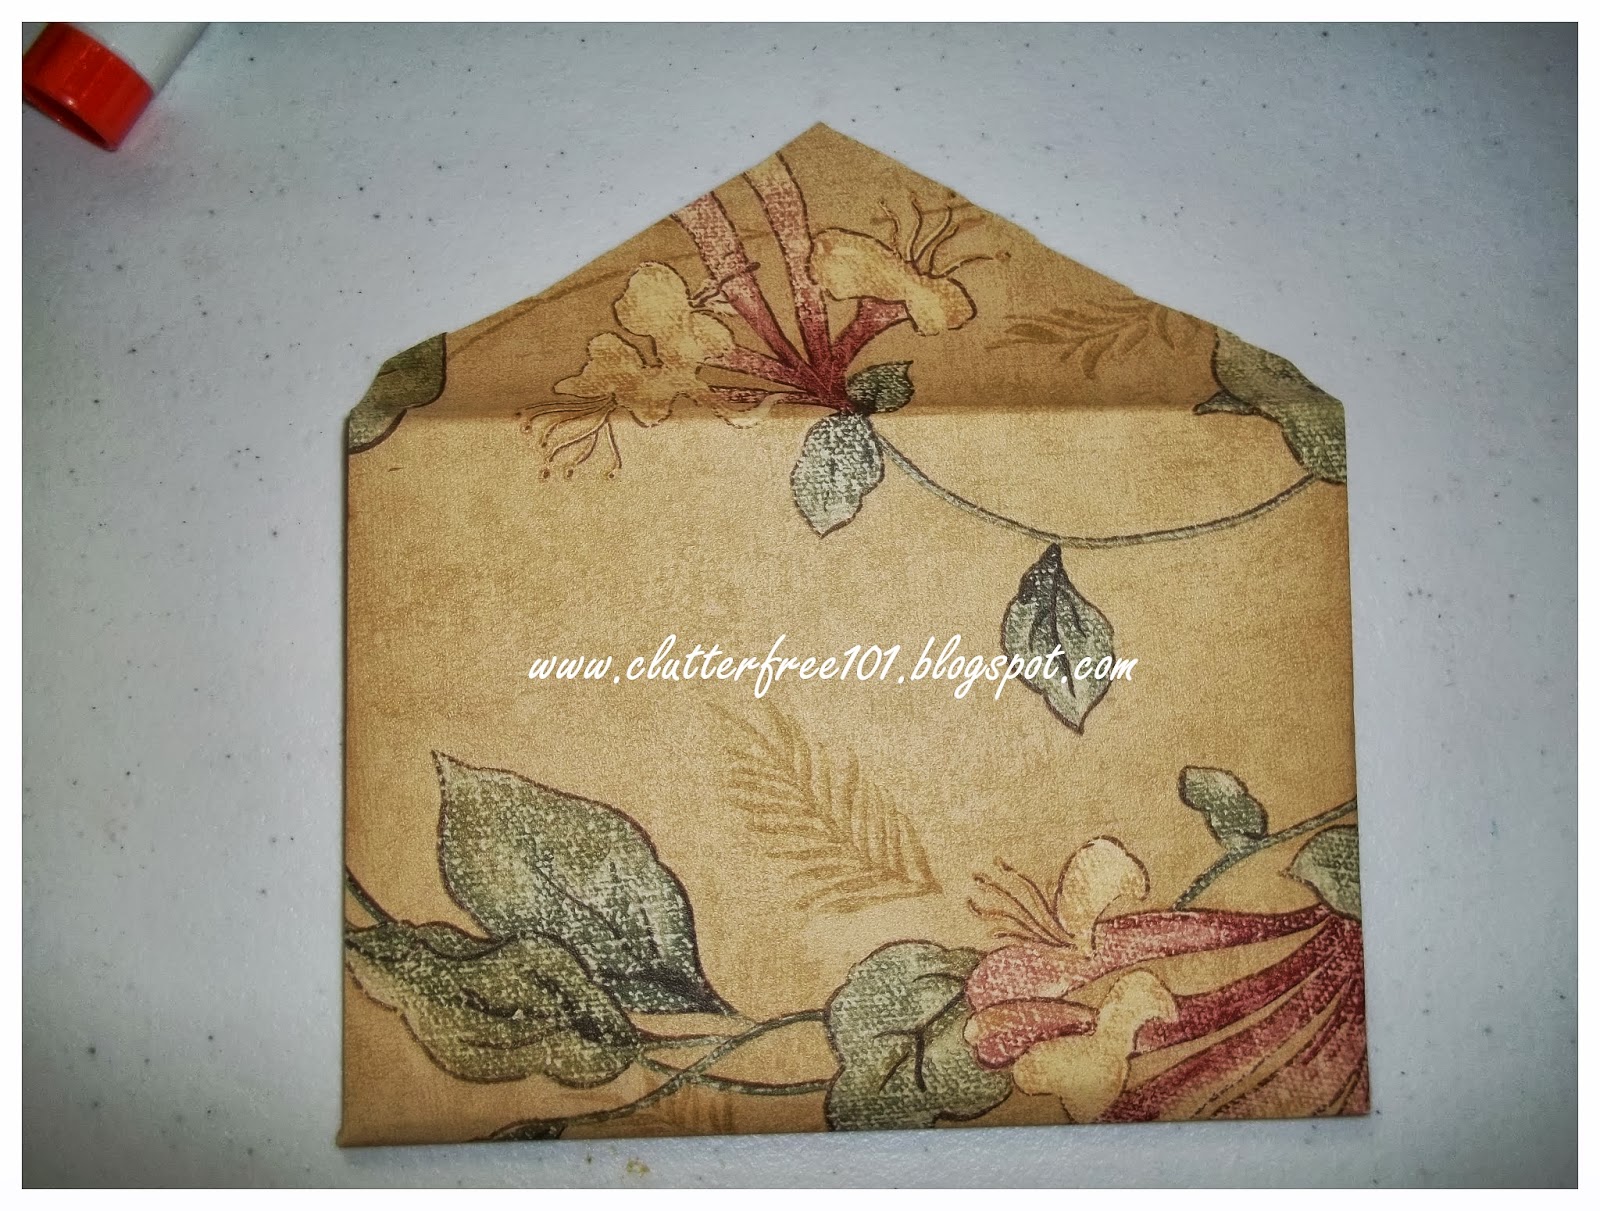
Hello everyone! I am taking a few precious moments off from getting my planning and decorating done for my daughter's upcoming wedding. It is hectic and tiring but as you know, it is a big moment. I have hardly have time to be on Pinterest except only to get ideas for the wedding. Yesterday I came across an easy way to re-use paper and make envelopes. I thought it was kind of neat that the person(I cannot for the life of me think of what website I went to) had wallpaper samples. I did too!!! So, I thought, why not? I finally got going to make out the envelope.

The instructions are simple:

*Get an envelope and open it out to form a template
*Trace it around and cut.
*Crease the edges like it is on the original envelope
*Fold and glue on the areas like the original.

I used a pinking shears to give the zigzag look on the flap. Pretty easy!!!


DIY candy jar

Well folks, I know that I have not been posting but things are very hectic for me and it is difficult to do all what I would like get done. My eldest daughter is getting married next month and her bridal shower is in 15 days!!! I feel like a headless chicken running around trying to do a thousand and one things but I just wanted to stop by and let you all know that I am still alive...haha! Anyway, here is one project that I have been doing for her bridal shower. I made a couple of candy jars from jars, vases and ribbon. I am thinking of using them for the wedding reception too.

I used a couple jars that I had gotten at a yard sale for $0.25 cents each! I also got those milk vases at the flea market for $1.00 each. The glue I used is the Loctite brand. You can use other adhesives that can hold the material of what you are using. The decorative ribbon, believe or not, I got a big roll of it for $0.99 cents at a closeout store. The end result is a pair of beautiful candy jars (or you can put whatever you want in them) for less than $4. You can get also these stuff (or something similar) at thrift stores or at the dollar store.


Thursday, February 7, 2013

Recycling a used dry erase board

So it is another day where the weather seems unpredictable. Yesterday was the first day of the year that I actually had to have my air conditioning in the car on while I was driving to get errands done and picking kids up from school. At the moment, it is very cloudy and sprinkling a little. After procrastinating for so long,I finally got to re-doing an old dry erase board/corkboard that my daughter no longer needed.
I used some chalboard paint.I got mine at Walmart for a little over $10 with taxes included.


Then I cleaned the dry erase part as much as I can. As you can see,the board was just not fit to write on. It was really messed up.I never knew that a dry erase board can get messed up. So much for assuming stuff. Just ignore the corkboard side. I was using that side to keep up with my bills and calendar.


Next,I used a foam brush that I got in the dollar store and painted one coat. This is what it looked like.
 
 
A word of advice here. I shook the can up before opening.I seemed a bit watery to me. Then I realized that I needed to find me a stick to mix it...a DUH moment for me! I used an old dowel that I had laying around.
I let that coat dry a few hours.Then I repainted it a couple more time, leaving some time in between coats. If I was not in such a hurry yesterday, I probably would have seen the runs but I did not until it was a bit late. Well, anyway, I think it looked much better than it was at the "throw away" stage.


Friday, October 19, 2012

Repurposing a filing cabinet

So my darling hubby got two filing cabinets from a storage unit and he wanted to throw them away.I begged for them and finally, he relented. He just cannot see what I would want to do with filing cabinets! Well, this week I got help in taking them inside the house.I gave my little daughter one(who plays teacher every single day!) I have as yet to work on hers.
Well, here is what I did to mine in my office/craft room:

I cleaned it out and put some good ole elbow grease. Finally,I took some wallpaper we had remaining from years ago (no,I hardly throw away stuff-some of you know what I mean). I then stuck the wallpaper on both sides with Mod Podge. Good old Mod Podge-always there for me..haha!

Then,I used scrap circles punchouts which I had laying around.I'd punched these out with a scalloped circle punch. The paper is wallpaper-hehe. Then I Mod Podged those to the front.All because I am too lazy to take an X-acto knife to cut the handles out from a rectangle piece of paper.I love shortcuts, don't you?

I still have to give a final coat of Mod Podge to really seal all those circles in and put some labels on the drawers but here are some of the pics:


Monday, October 1, 2012

Upcycled can-yarn wrapped

 I have so many inspirations from Pinterest and took some time off my routine to get into some crafting. One of the inspirations was a rope covered can. Well,I did not have rope but I did have yarn.I took some plastic canvas yarn, a tin can and hot glue gun and made my upcycled craft.

I just hot glued the beginning of the wrapping and then wound tightly around the can.I would put a dab of hot glue every now and then.Note that you have to keep pushing your yarn up so that there would not be too many spaces between each round of wrapping.

After finishing,I thought it was a bit too messy looking so I got some white grosgrain ribbon scrap and hot glued it to the rim. And since I was practising crochet hearts, I made a couple and hot glued it also onto the can and put a pearl bead on each heart.No rocket science.Now, that is the kind of craft I like!

I threw some colored Sharpie markers in the can.It can also make for a neat vase.


Wednesday, August 8, 2012

Upcycle old dry erase board as a picture frame

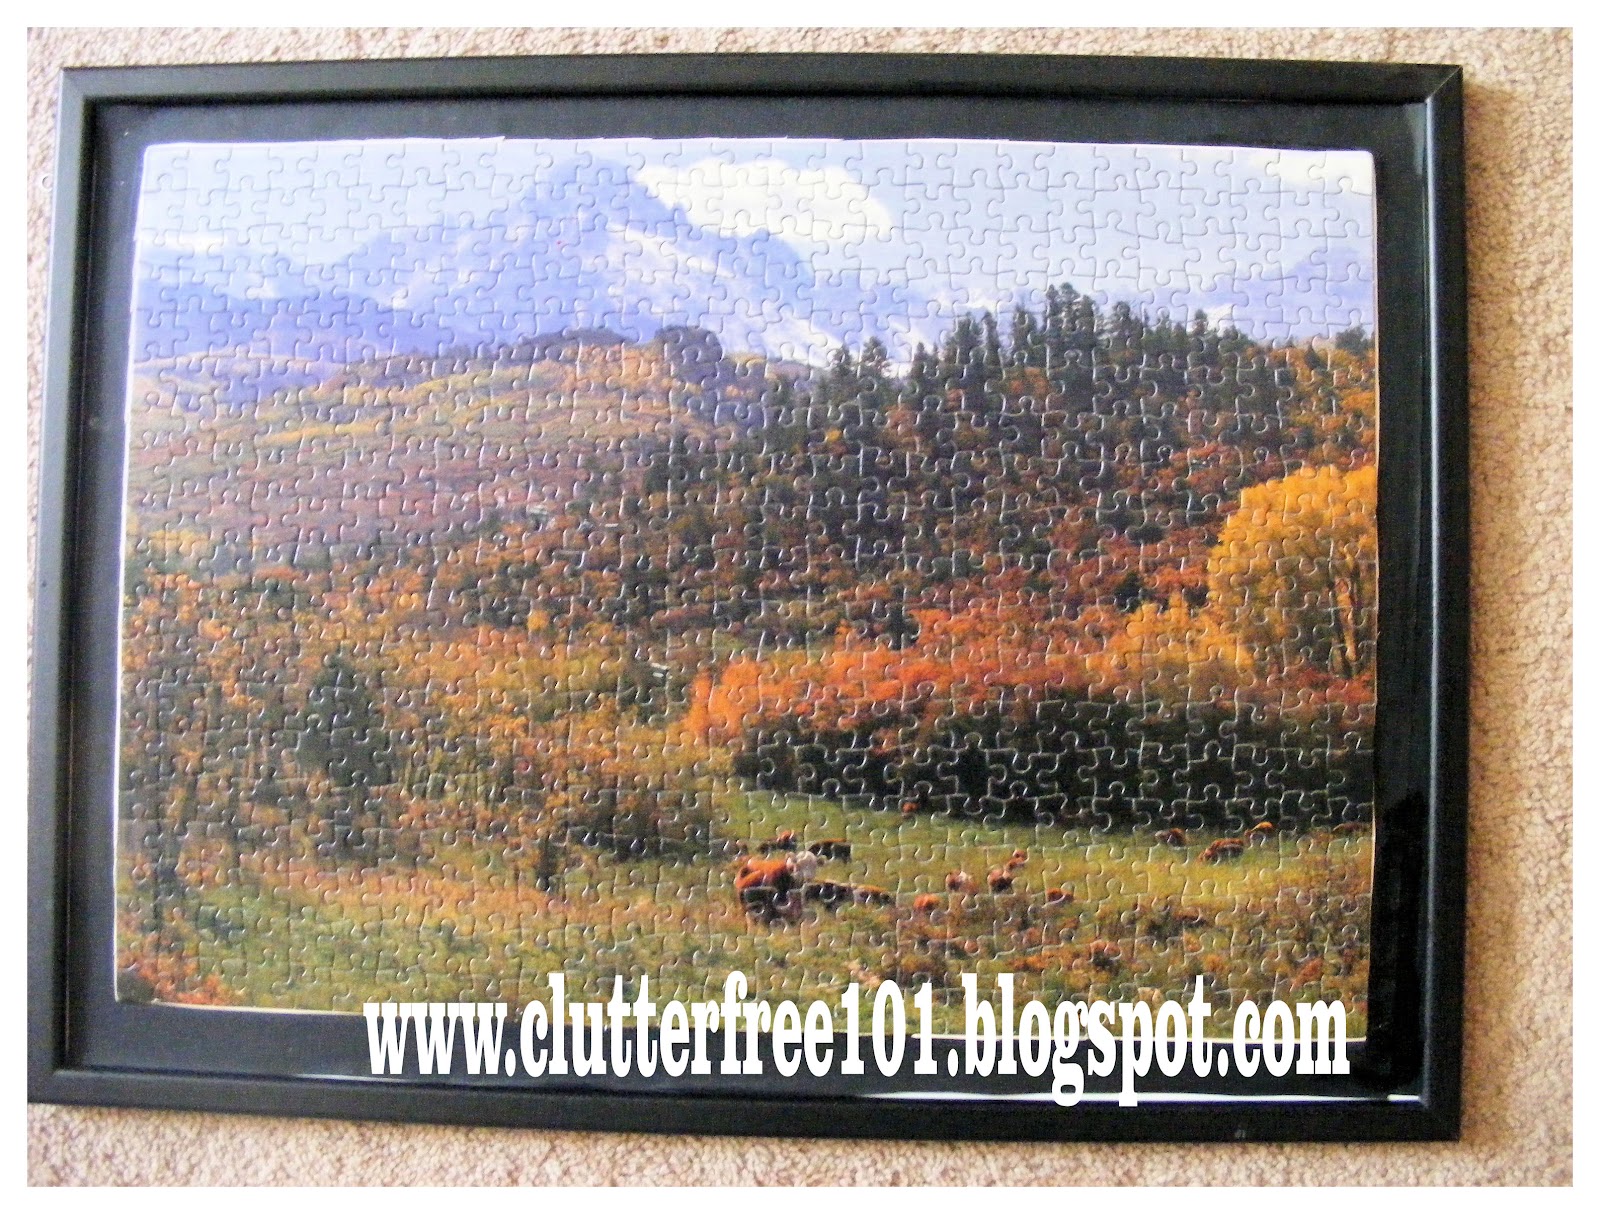
I have a few puzzles under my bed because I just hate to break them apart.I so love doing them but because of time and space,I hardly ever do them. Today, I was in the mood to work on getting some organizing done and saw the poor puzzles gathering dust. I know what you are thinking...why is there dust? Actually,my vacuum cannot reach under the bed and the bed is extremely heavy to move.That sucks!
So anyway, I brushed off the dust collected on my puzzle which was already stuck on a piece of cardboard. I took an old dry erase board that was just good enough to chunk in the trash.The writings could not be erased. The dry erase paint was coming off. I covered the dry erase board with black cardstock paper by using Mod Podge. Then I use the Mod Podge again to paste onto the black paper and stuck my puzzle onto it. Finally, I gave a layer of Mod Podge to coat the puzzle.


Saturday, July 28, 2012

Organizer from an old baking pan

I hate to throw away stuff and maybe that is why I have so much junk around me.I always feel that there is a use for them.I have a round baking pan that was starting to show rust and wanted to upcycle it,so I took a  used candlestick.You can get them at the dollar store or maybe at yardsales and flea markets.I was trying to figure out how to get rid of the rust and concluded that hey, maybe sandpaper would work.It did.


Next, I Mod Podged a picture onto the inside of the pan where I had smoothened with sandpaper. The only thing I did not like was there was a few ripples after Mod Podge-ing. I still have to get the hang of doing it right but you get the idea.
To glue the pan to the candlestick, I used Elmer's household cement. I will post more on the organizer as I work on it.

Friday, July 20, 2012

Mod Podge bookshelf

I had this old bookshelf that I used to keep my cookbooks in and decided to give it a makeover since my hubby wanted all those old magazines that I have out of the house.I hate to part with them and took a deep breath and cleared them away and decided to keep something from them.Most of the magazines were from Better Homes and I love the outdoor look so I started cutting pages and using the Mod Podge after cleaning out the shelf. The sad part is that no matter what I did, there were still some ripples.I am not finished with  the shelf yet.I still have to add to it.Hopefully, it will be soon and I can post some pics on it.


Sunday, July 8, 2012

Crayon roll and case from pillow case scraps


As I had left over pieces of fabric from the baby pillowcase( Baby pillowcase from a king size pillowcase) I made this week from a king size pillowcase, I decided to go ahead and make a crayon roll and matching case for my little niece.
I just eyeball everything and sew from there.
So very simple and save money on fabric too. To top it off,I still have a small piece of fabric from the orginal pillowcase.I wonder what to do next! Hmmm....

  A peek from last September: Crayon organizer

Monday, June 4, 2012

Storage containers from yard sales :)

I just love my new storage container finds I got on my Saturday yard sale trip. In the photo below, you can see my three slender glass containers that I got for $2.00 total (2 were for $0.75 each and one for $0.50 cents!)  I put noodles, elbow macaroni and split peas in them. The other containers are what I got from previous sales. I use them for sugar, corn meal, rice and more pasta. I have one fat empty one at the back waiting for some flour :). The very first one on the back has my packets of Martha White's blueberry muffin mixes!

Glass containers from yard sales and store sales

Oh, and by the way, I recycled this used ice bucket (photo below) to put my spoons and spatulas in. I hate digging up a drawer trying to find a spoon or spatula.

Reycled ice bucket
It is so much fun to hunt for containers and other knick knacks but I have this obsession that I have to boil everything possible, so these containers had very hot,soapy baths for a few days before I decide to put my food in them.

Wednesday, May 23, 2012

Containers re-do

I am so glad to be able to get a little time to work some crafts in today. Remember my unique basket that I got for $1.00 at a yardsale? Here is the link to the post Cute basket. Well, I decided to decorate it by adding some gathered trim around the top edges of the basket and add some fabric scrapbooking flowers with a button center. Simple, yet cute!


Also, I did some decorating on a Folger's coffee bottle in which I used scalloped paper circles, pink grosgrain ribbon and felt ribbon roses. Then, with a Pirouline can, I used scrapbooking paper, lace trim around the top edge with a scalloped paper circle on the bottom, plus a scrapbook cutout to embellish the front of the can. And finally, I added scrapbooking paper, grosgrain ribbon for around the top edge of a kidney bean can, topped with a ribbon bow completed my projects for today.

Monday, May 21, 2012

Recycled tin can

Well, I finally got a little time to work on crafting. I have tons of empty tin cans that I had washed and put up to be crafted on.Here is one that I got done.
This can was a garbanzo can. I love garbanzos! I washed it and dried it first. Then, I used Mod Podge to stick scalloped circles onto it.I had tons of scalloped circles punched from wallpaper. You can just use a rectangular shaped paper to stick yours on but because I had lots of these circles, I needed to get rid of them and this was one way to do it.
After adhering the circles, I waited until it was dried before adding a fabric flower,topped by a felt circle and pearl bead. I also added a strip of ribbon scrap on the bottom. Another scalloped paper circle went on the underneath of the can. You can add whatever embellishments you want.

Tuesday, April 17, 2012

Yardsale find and storage bench makeover

So this past Saturday,my hubby and I were just checking out a few yardsales and we came across this old bench.The top was an ugly colored vinyl and the bottom were two doors with no keys to open them.The previous owners apparently could not open the doors so they sort of ripped the top off.It was such a mess when we got it but we could not pass the deal we got because she told us that if we gave her $5,we can have it.My husband grabbed it. Originally,he was thinking of selling it over but asked me first if I wanted to keep it.I told him we can keep it so we brought it home and fixed it.We had to take off the ugly vinyl and remove the top from its hinges.Yes, you can see that stained sponge padding.We cleaned it and then I got some fabric from my stash and we recovered the top.Hubby took some Old English Leather and shined up the wood.Now, it is sitting on our front porch :). Not a bad deal for $5 ;)